Contents
- 1 Why upgrading to WordPress 7 needs a careful plan
- 2 Before you upgrade: understand what can break
- 3 Step 1: Audit your current WordPress environment
- 4 Step 2: Create a full backup you can trust
- 5 Step 3: Set up a staging site and clone your production site
- 6 Step 4: Update everything else before WordPress core
- 7 Step 5: Review server readiness and performance settings
- 8 Step 6: Run the WordPress 7 upgrade on staging first
- 9 Step 7: Validate content, SEO, and site structure
- 10 Step 8: Build a rollback procedure before going live
- 11 Step 9: Upgrade production during a low-traffic window
- 12 Step 10: Monitor closely after launch
- 13 Common mistakes to avoid when upgrading to WordPress 7
- 14 FAQ: WordPress 7 upgrade questions
- 14.1 Can I upgrade to WordPress 7 directly from an older version?
- 14.2 What is the safest rollback method if the update fails?
- 14.3 Do I need a staging site for a WordPress update tutorial like this?
- 14.4 Will upgrading to WordPress 7 affect my SEO?
- 14.5 How long should I monitor the site after upgrading?
- 15 Final thoughts
Why upgrading to WordPress 7 needs a careful plan
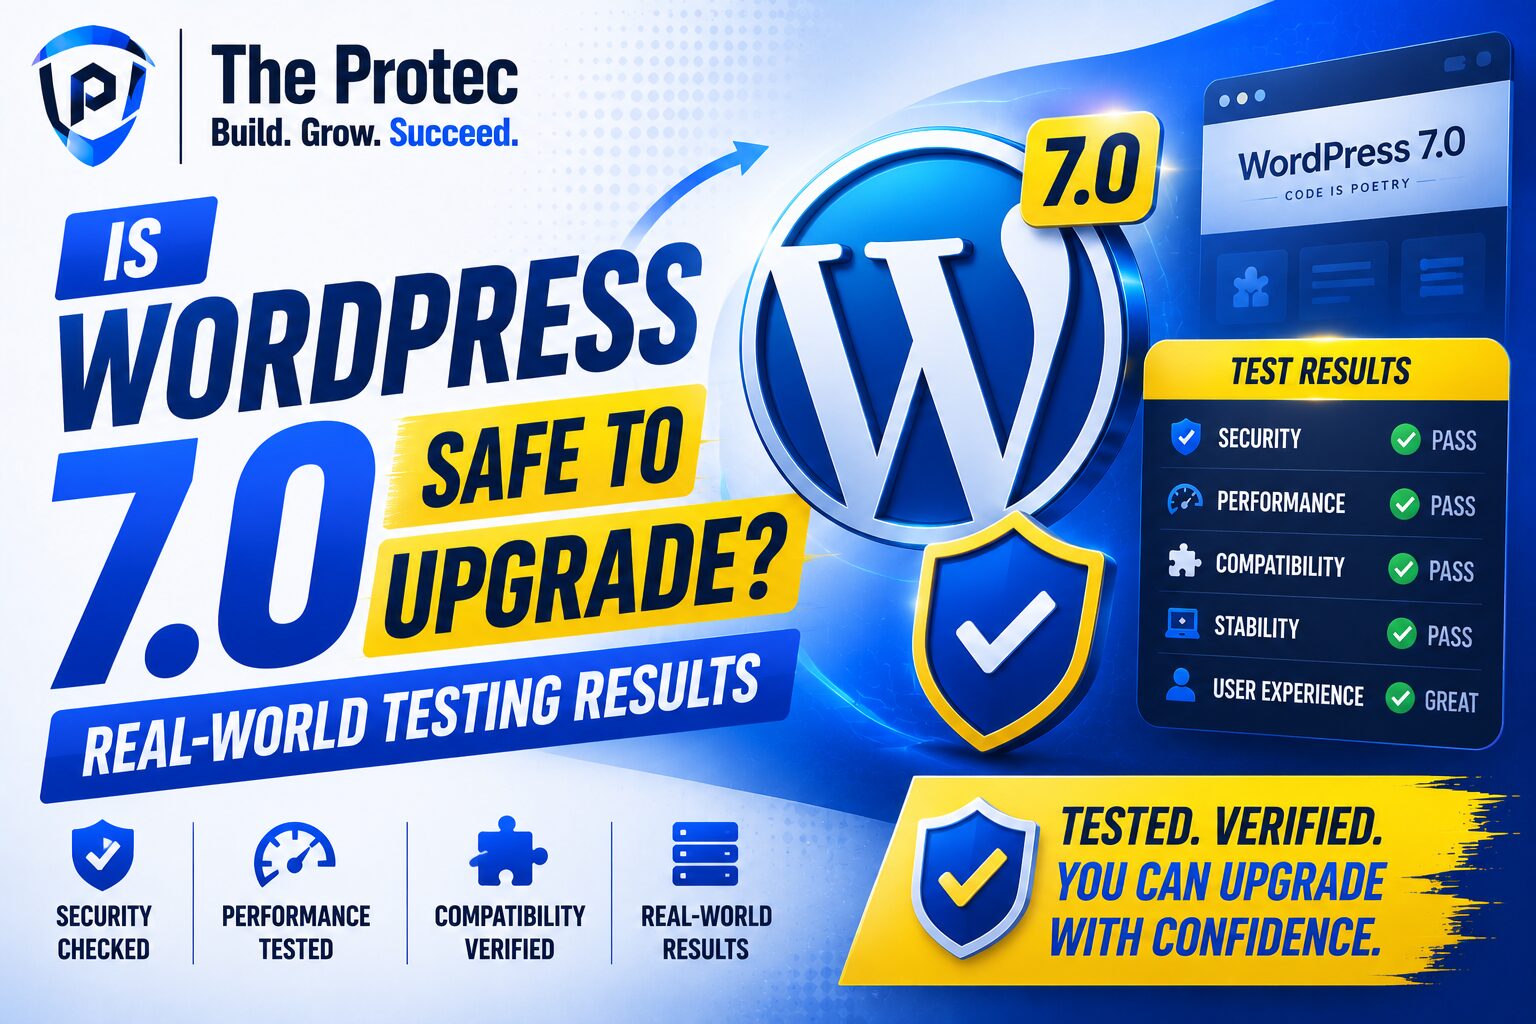
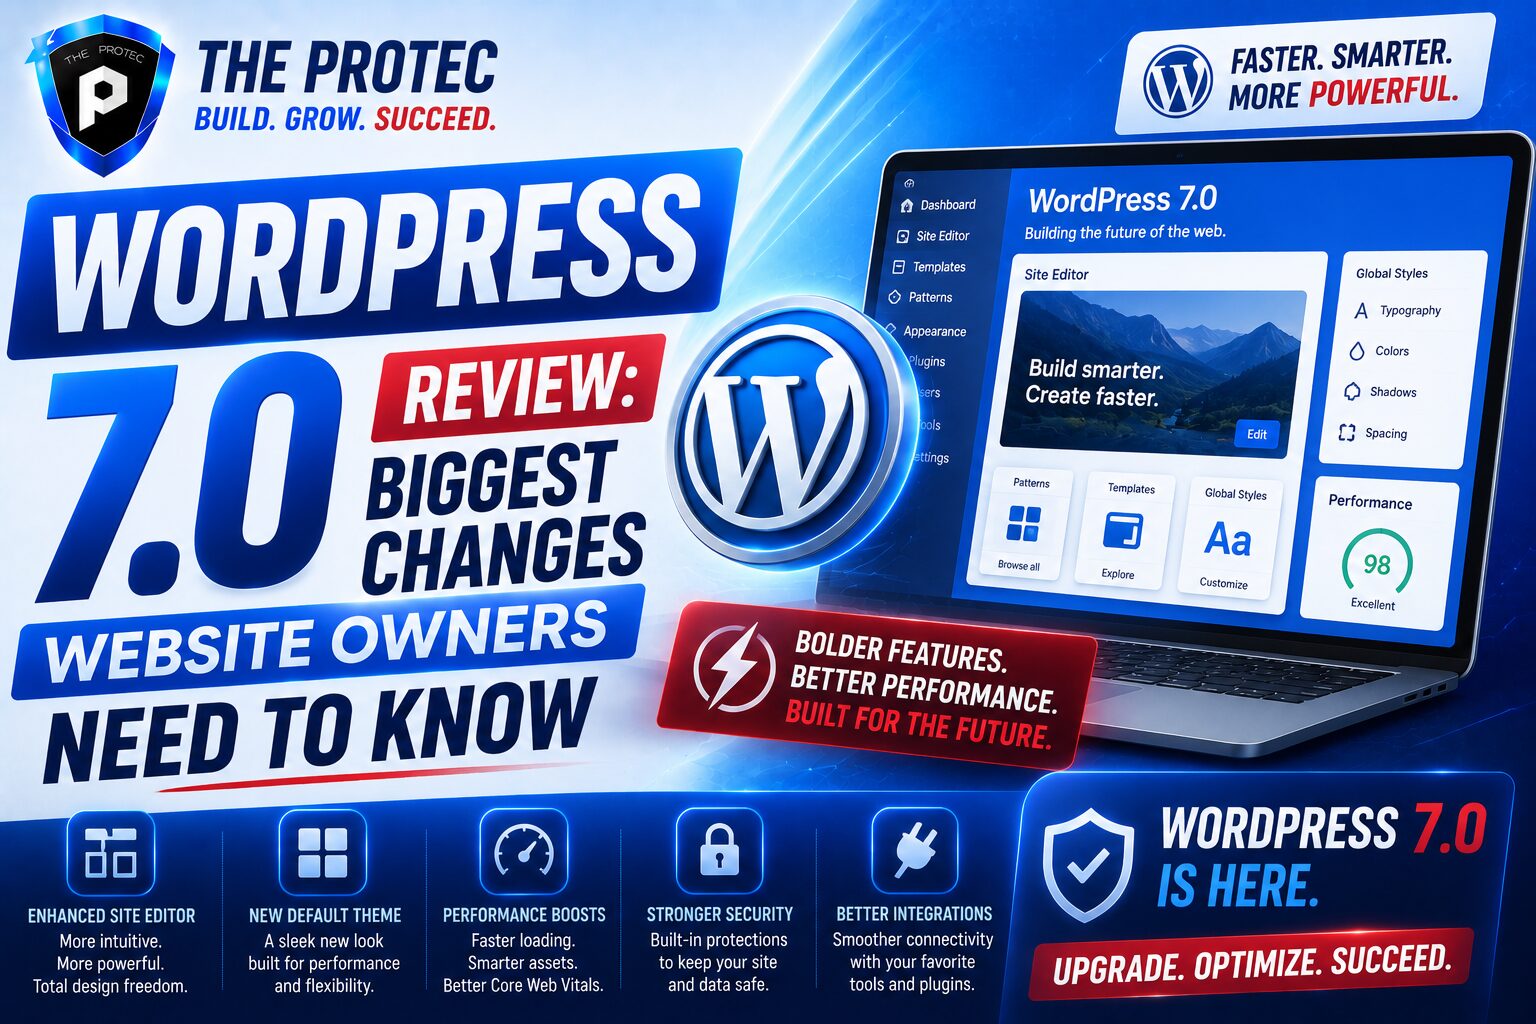
Every major WordPress release brings performance gains, security improvements, and new capabilities, but it can also expose hidden issues in themes, plugins, custom code, and hosting configurations. If you want to upgrade to WordPress 7 without breaking your website, the key is not speed. The key is process.
WordPress sites today are more complex than ever. Many rely on block themes, page builders, custom post types, third-party APIs, WooCommerce, caching layers, and server-side optimizations. A major update can affect all of them. That is why a safe upgrade is really a controlled migration guide, not just a one-click update.
In this WordPress update tutorial, you will learn how to prepare your site, create reliable backups, test the update on staging, verify compatibility, and roll back quickly if something goes wrong. The goal is simple: get the benefits of WordPress 7 while protecting your traffic, SEO, and revenue.
Before you upgrade: understand what can break
Most update problems are not caused by WordPress core itself. They come from the ecosystem around it. A theme may rely on a deprecated function. A plugin may not support the newest editor behavior. A custom snippet in your functions file may fail after a PHP or database change. Even a hosting cache can make a site appear broken when it is actually serving stale files.
Before you upgrade to WordPress 7, review the following risk areas:
- Theme compatibility: especially if you use a highly customized block theme or a child theme.
- Plugin compatibility: page builders, forms, SEO tools, security plugins, and e-commerce extensions.
- PHP version support: WordPress 7 may work best on newer PHP releases, so outdated servers can cause warnings or fatal errors.
- Custom code: theme files, snippets, mu-plugins, and integrations with external services.
- Database size and health: large sites may need more careful testing because of migration time and query performance.
- CDN and caching layers: these can hide problems or delay fixes if not cleared properly.
Think of the upgrade as a coordinated systems change. The more moving parts you have, the more important it is to test first and update last.
Step 1: Audit your current WordPress environment
Start with a full inventory of your site. This is the foundation of any reliable WordPress migration guide because you cannot protect what you do not know is there.
Check these items before touching the update button:
- Current WordPress core version
- Active theme and child theme details
- All active and inactive plugins
- PHP version, memory limit, and server type
- Database size and recent error logs
- Any custom code in theme files, snippets, or server configs
Now review each plugin and theme against its support status. Look for recent updates, compatibility notes, and developer announcements. If a plugin has not been updated in a long time, treat it as a risk even if it still seems to work today.
This is also the right time to remove anything unnecessary. Fewer plugins means fewer conflicts. If a plugin is no longer used, deactivate it first, then delete it once you have confirmed it is not needed.
Step 2: Create a full backup you can trust
A backup is not optional. It is your rollback plan. If you upgrade to WordPress 7 and something fails, a tested backup is the fastest way back to a working site.
Your backup should include both of the following:
- Files: WordPress core, wp-content, uploads, themes, plugins, and custom files
- Database: posts, pages, settings, users, orders, forms, and site metadata
Use at least two backup methods when possible. For example, pair a hosting snapshot with a plugin-based backup or server-level export. That gives you redundancy if one system fails.
Important backup rules:
- Store a copy offsite, not only on the same server.
- Label the backup clearly with the date and site name.
- Verify the backup completes without errors.
- Test restoration on staging or a local environment before moving ahead.
A backup that has never been tested is a hope, not a plan.
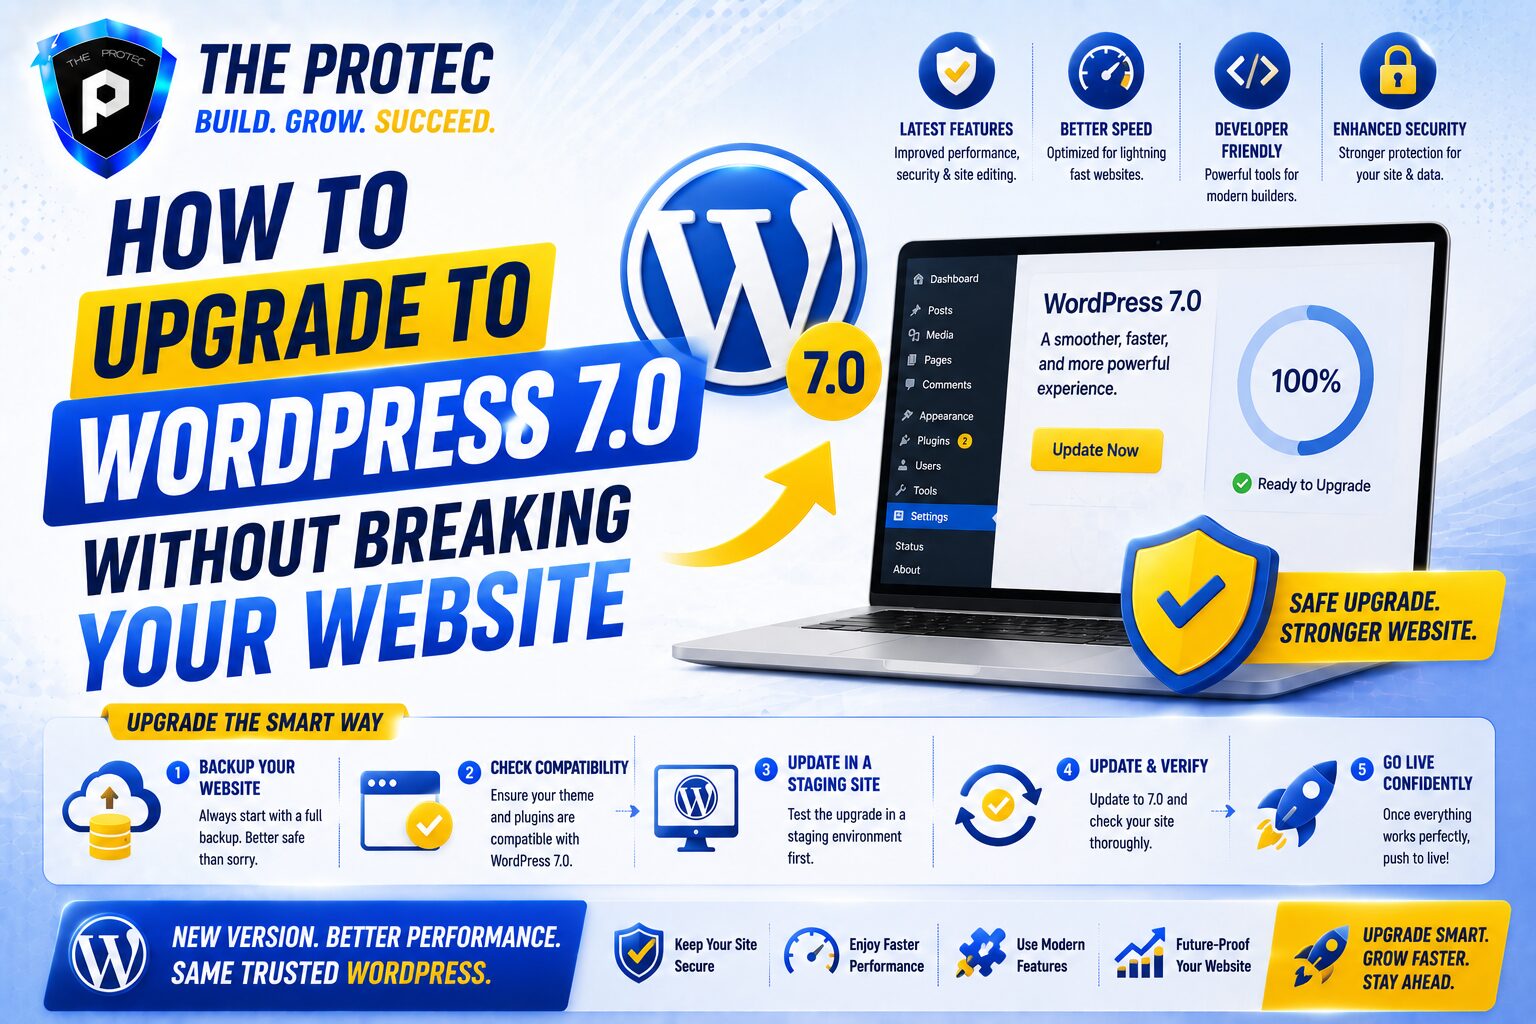
Step 3: Set up a staging site and clone your production site
Never test a major update directly on your live site if you can avoid it. A staging site gives you a safe copy of your website where you can upgrade, break things, and fix them without affecting visitors.
Modern hosting providers often include one-click staging. If yours does not, you can still clone your site manually or with a backup tool. The staging environment should mirror production as closely as possible, including:
- Same theme and plugin set
- Same PHP version
- Similar caching configuration
- Comparable database structure and content volume
Once the clone is ready, disable search engine indexing on the staging site. You do not want duplicate content appearing in search results. Also ensure that forms, payments, and emails do not send real customer data or live notifications from the test environment.
From this point forward, your staging site becomes the place to run the actual upgrade to WordPress 7 first.
Step 4: Update everything else before WordPress core
A common mistake is updating WordPress core first and plugin/theme files later. That order increases the chance of incompatibilities. In most cases, it is better to update your ecosystem before the core upgrade, as long as the newer versions are stable and compatible with your current site.
Follow this order on staging:
- Back up again, just in case
- Update plugins one by one or in small groups
- Update the theme and child theme files if needed
- Remove unsupported or redundant plugins
- Check for PHP notices, warnings, or layout changes
Pay special attention to plugins that affect page rendering, checkout flows, headers, footers, and search. These are the areas most likely to reveal hidden problems after an upgrade.
If a plugin update breaks staging before you even reach WordPress 7, solve that issue first. Do not stack problems on top of problems.
Step 5: Review server readiness and performance settings
WordPress 7 may take advantage of more modern server capabilities, so confirm your hosting environment is ready. A technically current WordPress installation can still fail if the server is outdated or underpowered.
Check the following:
- Supported PHP version recommended by your host and plugins
- Memory limit high enough for page builders, imports, and WooCommerce
- HTTPS is enabled and configured correctly
- Object caching and page caching are not conflicting
- Redis, OPcache, or other acceleration layers are configured properly
- Database access is stable and optimized
Performance matters because some upgrade issues are not obvious errors. A site may load slowly, time out, or partially render after the update. That can look like a content problem when it is really a server resource issue.
For current WordPress guidance on releases and compatibility, the official documentation remains a useful reference: https://wordpress.org/documentation/
Step 6: Run the WordPress 7 upgrade on staging first
Now you are ready to upgrade to WordPress 7 on the staging site. If your hosting panel offers a one-click core update, you can use it. If you prefer manual control, download the release package from WordPress and replace core files carefully while preserving wp-content and wp-config.php.
After the update completes, do not assume success. Run a structured test checklist:
- Open the homepage and several key landing pages
- Check menus, footers, and mobile responsiveness
- Test forms and contact submissions
- Verify login, logout, and password reset behavior
- Test search, filters, and archive pages
- Review checkout, cart, and payment flows if you run WooCommerce
- Inspect the browser console for JavaScript errors
- Scan the server error log for PHP warnings or fatal errors
Do not stop at visual checks. Click through interactive features and simulate real user behavior. Many problems only appear when a plugin or template is triggered by a specific action.
Step 7: Validate content, SEO, and site structure
Major updates can affect more than functionality. They can also influence content formatting, metadata, schema output, and internal linking behavior. This is especially important if you rely on block content, SEO plugins, or custom structured data.
Review the following after the WordPress 7 upgrade:
- Page titles and meta descriptions
- Canonical tags and robots settings
- Structured data output
- Heading hierarchy on important pages
- Image alignment and lazy loading
- Redirects and permalink behavior
If your site depends on organic traffic, this step is essential. A broken heading structure or missing metadata can quietly affect rankings even if the site appears to be functioning normally.
Use a crawler or a browser-based QA pass to compare the staging site with production. You are looking for visual, technical, and SEO differences.
Step 8: Build a rollback procedure before going live
Rollback planning is what separates a cautious site owner from a reactive one. If the live upgrade causes trouble, you need a fast path back to the last stable state.
Your rollback procedure should answer these questions in advance:
- Which backup will be restored if the update fails?
- Who has access to restore files and the database?
- How long will the rollback take?
- What content changes might be lost during restoration?
- How will you pause traffic or maintenance during recovery?
A strong rollback plan usually includes these steps:
- Put the live site into maintenance mode if needed
- Restore the database from the most recent verified backup
- Restore the matching files archive
- Clear all caches and CDN layers
- Recheck the most important pages and forms
Make sure your backup date matches the site state you want to recover. Restoring mismatched files and databases can create more damage than the original problem.
Step 9: Upgrade production during a low-traffic window
Once staging passes every major test, you can move to production. Choose a low-traffic period so that if an issue appears, fewer users are affected. For e-commerce and membership sites, this may mean scheduling around your quietest business hours instead of simply updating at night.
Before you start:
- Take one final full backup of the live site
- Confirm staging tests passed
- Notify your team or stakeholders
- Temporarily disable nonessential automation if needed
- Clear any maintenance tasks or background jobs that might interfere
Then perform the upgrade exactly as you did on staging. Do not improvise. Follow the same order, the same checks, and the same verification steps.
After the update, clear all layers of cache: WordPress cache, server cache, CDN cache, and browser cache if necessary. Many “broken site” reports are actually stale cache issues after a successful upgrade.
Step 10: Monitor closely after launch
The upgrade is not truly finished when the core update completes. The first 24 to 72 hours after launch are critical. This is when hidden compatibility problems, traffic spikes, and background jobs tend to reveal themselves.
Monitor:
- Site uptime and response time
- Error logs and warning messages
- Form submissions and notifications
- Checkout completions and payment status
- Search rankings for key pages
- Mobile usability and layout shifts
If you use analytics and monitoring tools, compare data against the period before the upgrade. A sudden drop in conversions, page views, or engagement may indicate a technical issue that was not obvious during testing.
Keep the backup and rollback plan available for a few days after launch in case you need to restore quickly.
Common mistakes to avoid when upgrading to WordPress 7
Even experienced site owners make avoidable mistakes during major updates. The most common ones are simple but costly:
- Updating directly on the live site without staging
- Skipping the backup test and assuming the backup works
- Ignoring plugin compatibility notices
- Forgetting to check PHP and server requirements
- Leaving caches active while troubleshooting
- Not testing forms, checkout, or login flows after the update
- Failing to prepare a rollback path before starting
A safe upgrade is not about being overly cautious. It is about removing uncertainty one step at a time.
FAQ: WordPress 7 upgrade questions
Can I upgrade to WordPress 7 directly from an older version?
In many cases, yes, but the safest approach is still to update your plugins, theme, and server environment first, then test the core upgrade on staging. If your site is very old, consider doing intermediary maintenance before moving to the latest release.
What is the safest rollback method if the update fails?
The safest rollback method is restoring a verified backup of both files and database from just before the upgrade. Make sure the backup was tested on staging or another environment before relying on it in production.
Do I need a staging site for a WordPress update tutorial like this?
Yes, if your site is business-critical, receives regular traffic, or depends on plugins and custom code. Staging is the best way to catch problems before users see them.
Will upgrading to WordPress 7 affect my SEO?
It can, but usually only if the update breaks content structure, metadata, schema, redirects, or performance. A careful migration process protects SEO by verifying those elements before and after launch.
How long should I monitor the site after upgrading?
Monitor closely for at least 48 to 72 hours, and keep an eye on logs and analytics for about a week. Some issues only appear when traffic, caching, or scheduled tasks run under real conditions.
Final thoughts
If you want to upgrade to WordPress 7 without breaking your website, treat the process like a controlled deployment. Audit your environment, create and test backups, clone production to staging, validate compatibility, and prepare a rollback plan before you touch the live site. That sequence gives you the confidence to move forward without risking downtime, lost sales, or damaged rankings.
WordPress updates should improve your site, not threaten it. With a disciplined process, the move to WordPress 7 can be smooth, secure, and reversible if needed.